Let’s kick off this tutorial by installing the Apache server on a Ubuntu machine. So without any further delay, let’s dive in and install Apache.
If you don’t already have Apache installed on your Ubuntu virtual machine:
- SSH into your Ubuntu VM using your favorite SSH client.
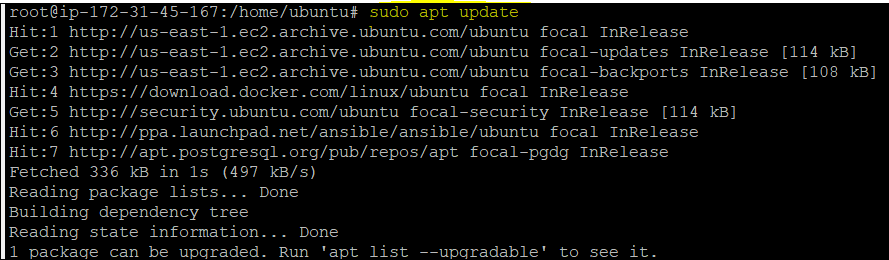
- Run the below command to ensure that Ubuntu has all the latest package sources. Apache will be installed as an apt package which you’ll download and install in the next step.
Sudo apt update
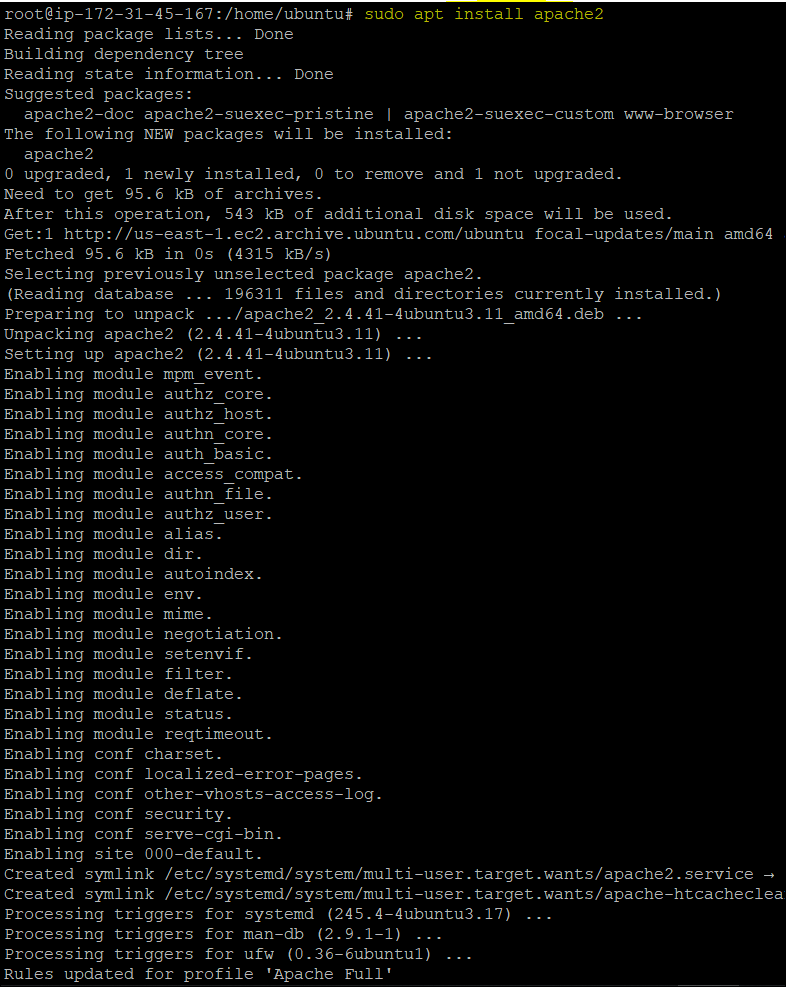
- Next, install the
Apachepackage using the apt install command.
sudo apt install apache2
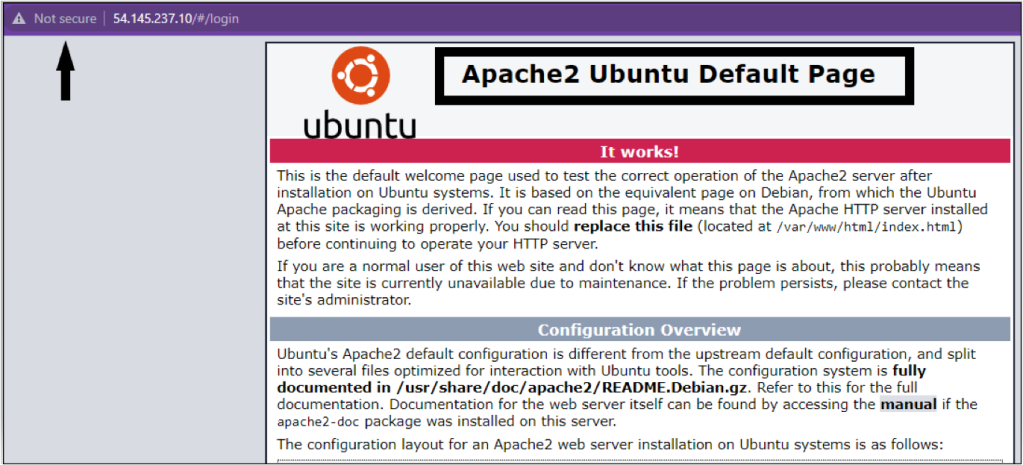
- Now, verify if the Apache server has been successfully installed on the Ubuntu Machin. To test the apache server on your browser, navigate to <ip-address-of-server>:80, and you should see the Apache homepage below.
Install Apache Server on Windows Server
Previously you learned how to install an Apache server on an Ubuntu machine. In the same way, you can also make it happen on Windows operating system.
Installing the Apache server is a simple task and requires a few steps, as mentioned below.
- Open your favorite browser and download the appropriate version of the Apache server from here, as shown in the below image.
At the moment of the writing, the latest Apache web server version is 2.4.54. The examples will use this version.

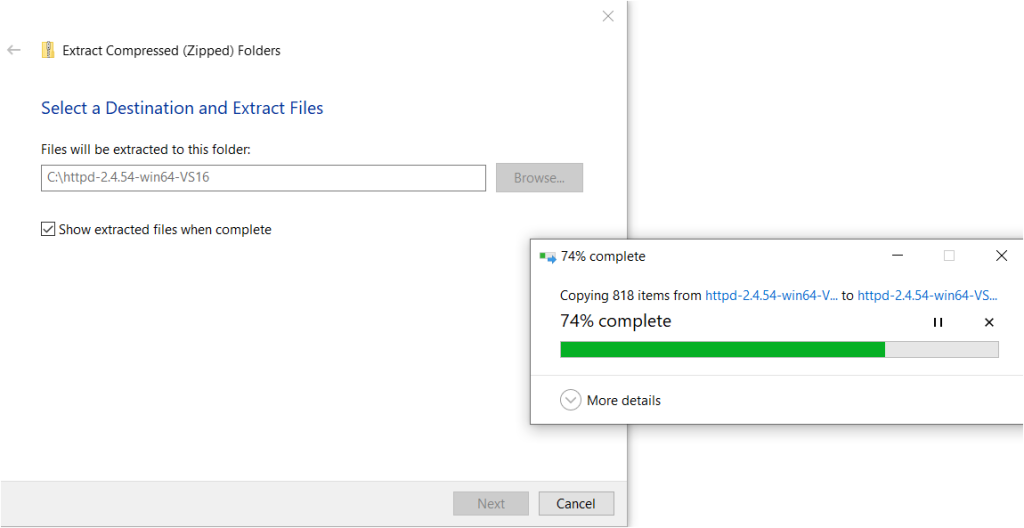
- Create an Apache24 folder in your C:\ drive, extract the downloaded archive file, and copy the Apache exe file into the C:\Apache24 folder.

- Next, open the Apache configuration file httpd.conf at C:\Apache24\conf location and update the below lines. The below line will enable the SSL module on Windows machines and allow Apache to work with the Https port.
LoadModule rewrite_module modules/mod_rewrite.so
- Now, start the Apache server by executing the http.exe file on the command line or PowerShell.
./httpd.exe

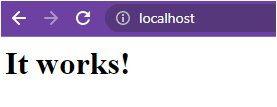
- After executing the command, verify the Apache server by opening the browser and navigating to the localhost link. You should see an (It works!) message on the page confirming successful installation of Apache server on Windows machine.